
Software - TimeLOG Web / Synergy WF
When SQL database goes to suspect mode
When SQL database goes to suspect mode
When SQL server suspects the primary filegroup of the database to be damaged or if the database file is missing, the database status is set to ‘Suspect’.
Also, there are a wide range of errors that could result in SQL database in suspect mode. Some of them are listed as below:
- System fails to open the device where the data or log file of SQL server resides.
- SQL server crashes or restarts in the middle of a transaction, resulting in a corrupt or inaccessible transactions log file.
- SQL Server tries to open a database, and the file belonging to that database is already open by anti-virus software installed on your system.
- The database is terminated abnormally.
- Lack of disk space.
- SQL cannot complete a rollback or roll forward operation.
- Database files are being held by the operating system, third-party backup software, etc.
How to get SQL database out of suspect mode?
NOTE: You can try restoring the database in suspect mode from a good known backup. If the backup is not available, proceed with the following steps.
Follow the steps in sequence given below to recover MS SQL database from suspect mode:
Step 1: Open SSMS and connect to the database.
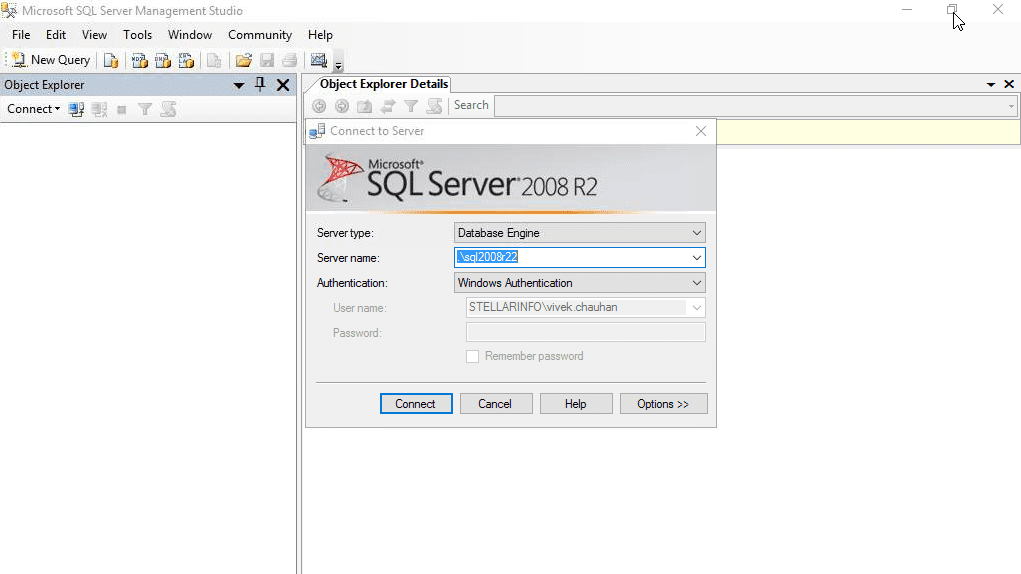 Figure 2: Connect to Database
Step 2: Select the New Query option.
 Figure 3: Select New Query
Step 3: In the Query editor window, enter the following code to turn off the suspect flag on the database and set it to EMERGENCY:
EXEC sp_resetstatus ‘db_name’;
ALTER DATABASE db_name SET EMERGENCY
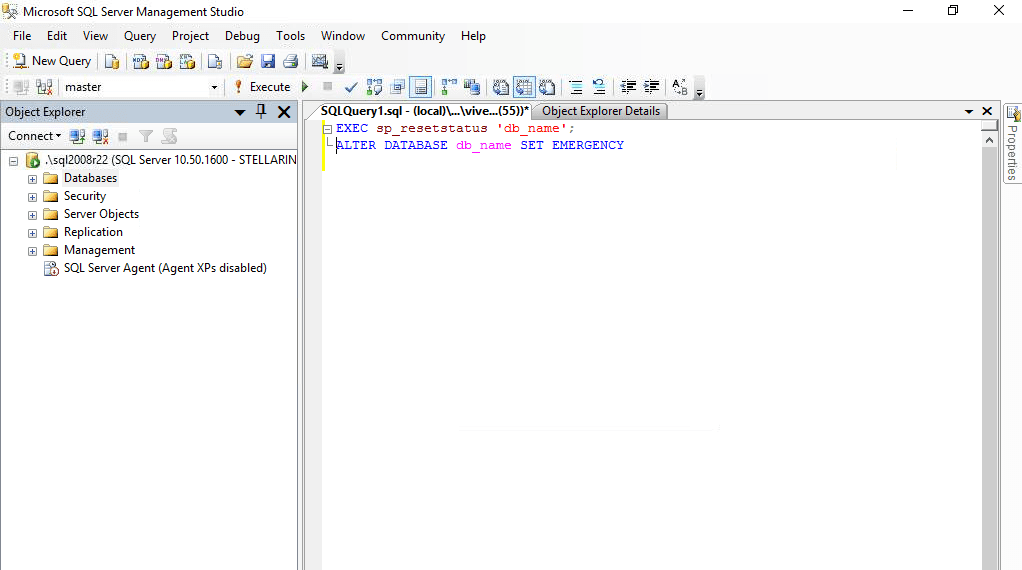 Figure 4: Set Database in Emergency Mode
NOTE: If you cannot set the database in emergency mode, skip to the next solution.
Step 4: A suspect database might not be corrupted. You can determine if the database is corrupted or not by running the following DBCC CHECKDB command.
DBCC CHECKDB (‘database_name’)
This statement will report any consistency errors (if found) in the database and will recommend running the minimum level of repair option to fix corruption.
Before initiating the repair process, you must first set the database into ‘Single User Mode.’ Doing so will prevent other users from making any changes to the database during the repair process.
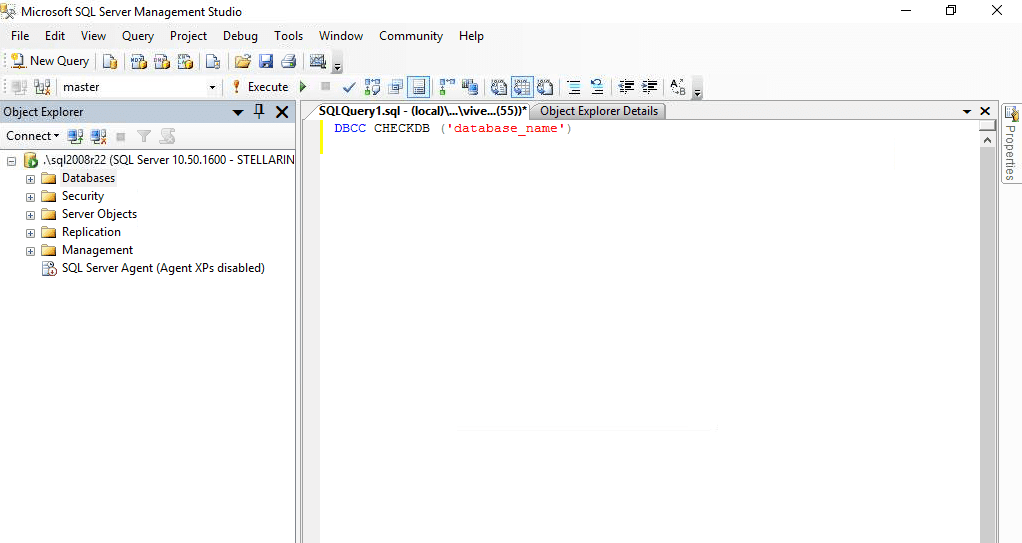 Figure 5: Check Database Consistency
Step 5: Now, let’s bring the database into the Single User mode and roll back the previous transactions by executing the below command:
ALTER DATABASE database_name SET SINGLE_USER WITH ROLLBACK IMMEDIATE
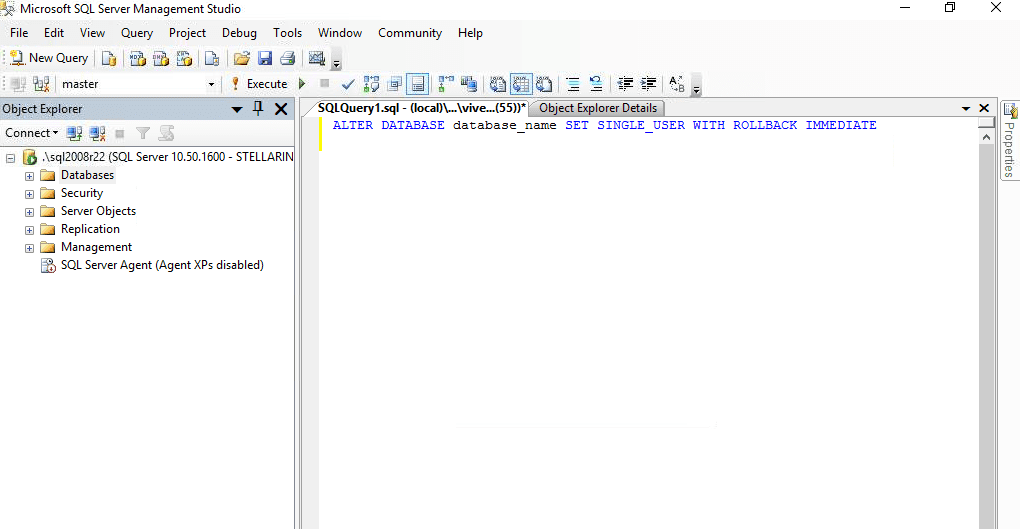 Figure 6: Set Database to Single_User Mode
Step 6: Take a complete backup of the corrupted files to avoid chances of data loss.
Step 7: After putting the db in SINGLE USER mode, try to fix the consistency errors using the REPAIR_REBUILD option of DBCC CHECKDB. This option can quickly repair missing rows in nonclustered indexes. In addition, you can use it for more time-consuming repair operation, such as rebuilding an index.
DBCC CHECKDB (‘database_name’, REPAIR_REBUILD)
However, if REPAIR_ALLOW_DATA_LOSS is suggested as minimum level of repair, then run DBCC CHECKDB with the suggested repair option. The syntax is as follows:
DBCC CHECKDB (‘database_name’, REPAIR_ALLOW_DATA_LOSS)
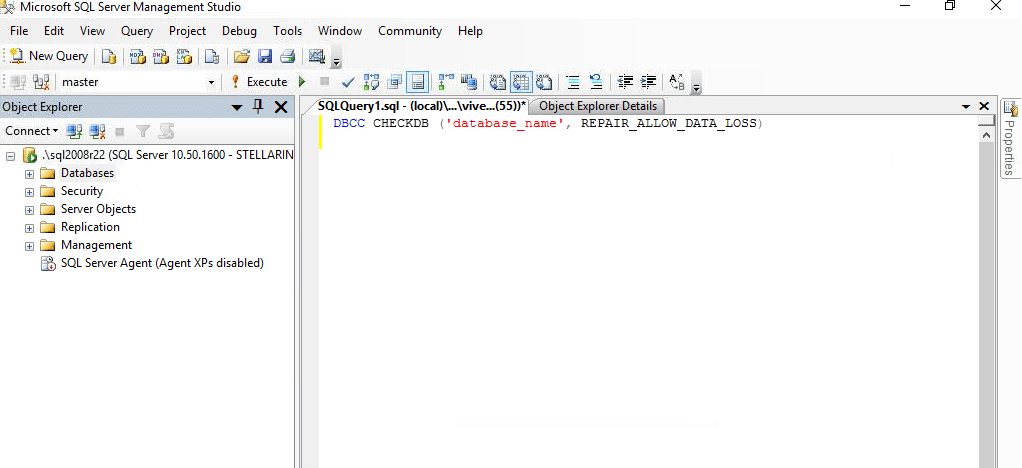 Figure 7: Repair Database with DBCC CHECKDB
Step 8: Bring the database into the Multi-User mode:
ALTER DATABASE database_name SET MULTI_USER
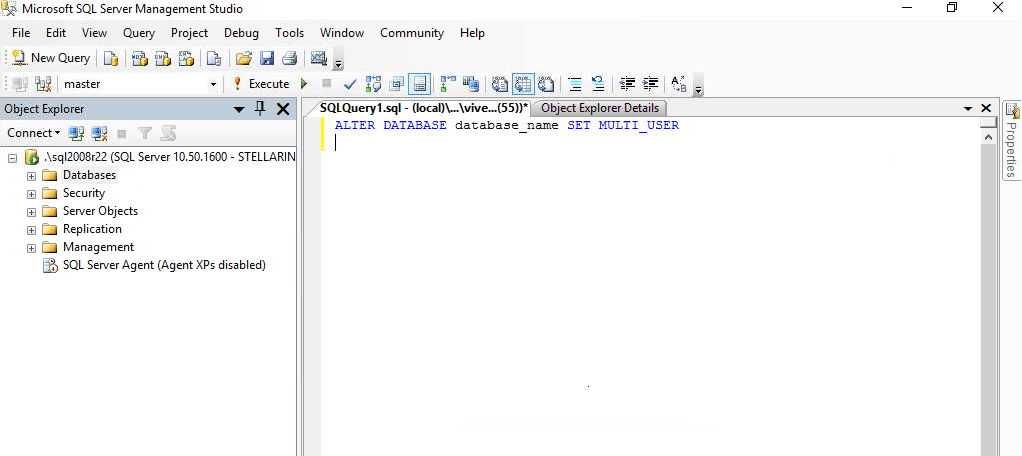 Figure 8: Set Database to Multi-User Mode
ALTER DATABASE database_name SET MULTI_USER
Step 9: Refresh the database server.
After completing these steps, you should be able to connect to the database. In case of any data loss, you’ll have the db backup to restore from (Step 6).