
Access Control Module
Access Control
This module is for Access Control. Access Control uses readers on both the inside & outside of a door or just on the outside in combination with a locking mechanism to control which employees can open a particular door.
Key Terms for Access Control include:
Badge – the media used to gain entry either a card, key fob or biometric measurement.q
Security Group – The designation of one or more doors allowed to be access and when combined into a group which employees can be assigned to.
Time zone – The list of days and times when a door will open.
Reader – The scanning mechanism beside the door.
Controller (door) – The Unit that makes the decision to open or not based on software control.
Online – Software and Controllers are in constant contact, each swipe on a reader is relayed to the server for access decisions based on the very latest information.
Offline – Door controllers keep a valid list of Badges and Timezones and the door makes it’s own decision to open based on ”last Known Good Info”
Online vs Offline mode.
Both modes have their own advantages and disadvantages and you should consider which mode is right for you.
Online doors are in constant communication with the software, each time a badge is swiped they send a question to the server asking if it should open the door. The Advantage of this mode of operation is that new badges and employees become active immediately after you save their record in the database. However this requires a constant and acceptable speed of connection between all the doors and the server. However if the network fails at any point between the door and the server such as a switch or router failure or the connection speed is slow the door will retry asking the question of the server several times and will await a response to each question in turn before it falls back on it’s own decision by switching into offline mode and checking its own stored list of valid cards. Each retry adds a delay to the decision to open the door resulting in a > 5 second delay on a door if the network fails. Online doors should still be sent regular updates at least every 24 hours so their backup list is current at the end of the previous day.
Offline doors do not send the question to the server asking if they should open for each badge, they have a stored list of which cards are allowed in locally so the decision rests in the door controller. Without the need to ask and wait for a reply the door responds to badge swipes much faster and will open and Reject within < 2 seconds. This speed of response however comes at the cost of updates. Offline doors need to be told when a badge has been added or withdrawn from the active list. This would involve either waiting for the next scheduled update (usually overnight) or the software user sending the updates manually from the GUI.
TimelogWEB can work in both Online and Offline mode, your installer will normally discuss these with you and make a recommendation for the best result for you
Online Pros
Online Cons
Offline Pros
Offline Cons
Always up to date
No need for user intervention after adding a card
Speed and Server communications dependent
Can be slow if there are problems with the link to the server
Increased network traffic if used over a metered connection
Doors respond to badges faster
Can run independently of the server as does not require constant communication.
Less network traffic on metered connections
List only as accurate as the last time it was sent to the door.
For immediate activation manual intervention required or a scheduled send
as no two installations are the same.
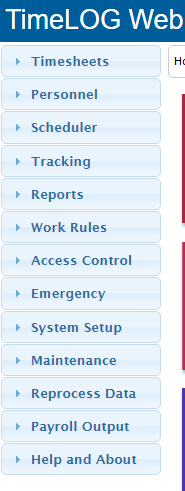
To start Access Control left click on the main menu.
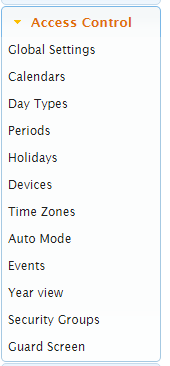
Global Settings
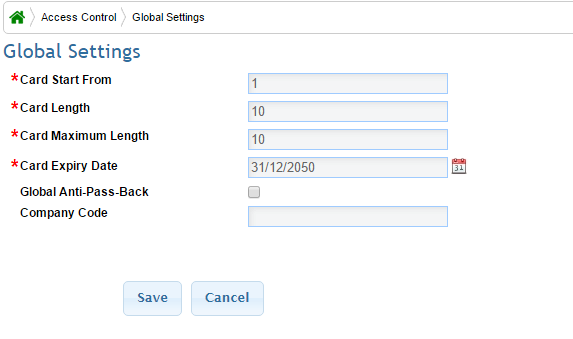
- Card Start – The first position to read from the badge media (Default is always 1)
- Card Length – Number of digits to read from badge is always 10
- Card Maximum Length – Max number of digits to expect on the badge can be up to 14
- Card Expiry Date – The default date to suggest for all new badges added to the software to expire on.
- Global Anti Pass Back – Prevents two or more swipes in or out of the premises consecutively, if your last swipe was IN the next must be an OUT and vice versa. You MUST be working in ONLINE mode.
- Company Code – prefix embedded in a badge media to identify the host company (for future use)
Calendars

Calendars are essential for the configuration of access control they help tell the doors how to behave on different days of the week or even on different dates of the year.
To create a calendar you click the green Add Calendar, to Edit click on the yellow edit icon and to remove press the Red Delete.
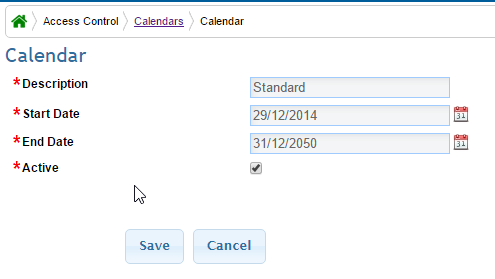
Each Calendar requires a description, a start & end date and can be marked as active/inactive with the tick box.
Day Types
All calendars consist of Day Types, these are the different days of the week (default) or days of the year such as Work Day/Rest Day
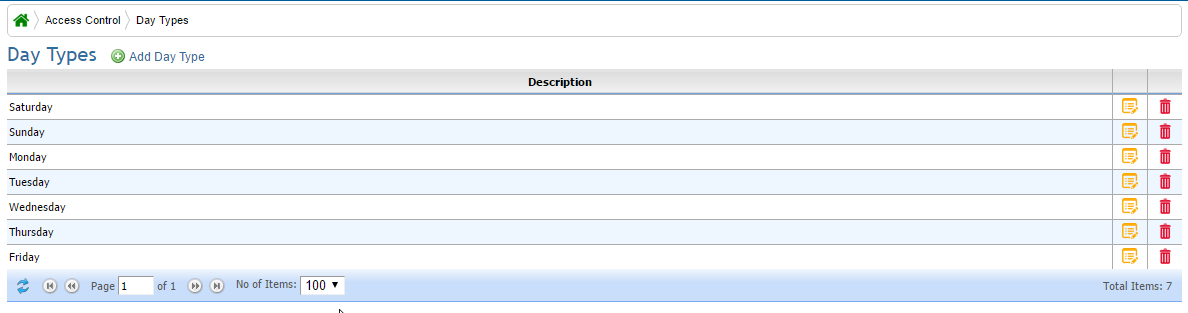
Again to Add a day type click the Green Add Day Type, to Edit use the yellow Edit icon and to delete it’s the Red Delete.
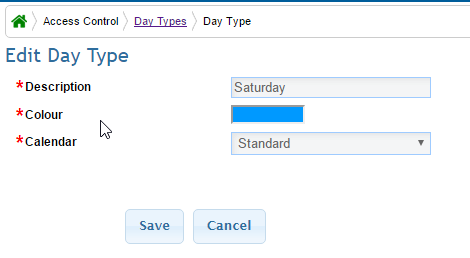
A Day type requires a Description, a colour for easy recognition and must be assigned to a Calendar.
Periods
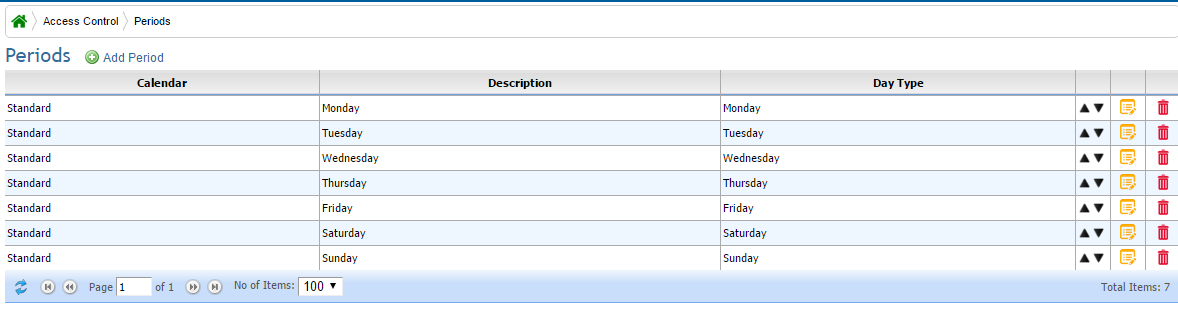
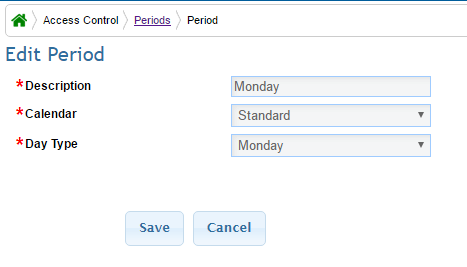
The period is a list of Calendars & Day Types use the Black Arrows to alter the order of periods repetition within the pattern. In this example there are Seven running from Monday – Sunday.
To add a period use the Green Add Period, to Edit the Period use the Yellow and to remove a Period use the Red Delete.
Holidays
Holidays allow you to set an override to the standard repeating pattern of periods.
One or more Dates can be set as a Holiday where special access rules can Occur.
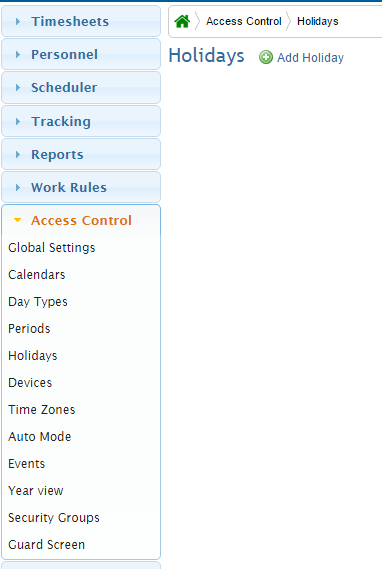
Click on the green Add Holiday to create a new Holiday, Yellow to Edit an existing holiday and Red to delete a Holiday
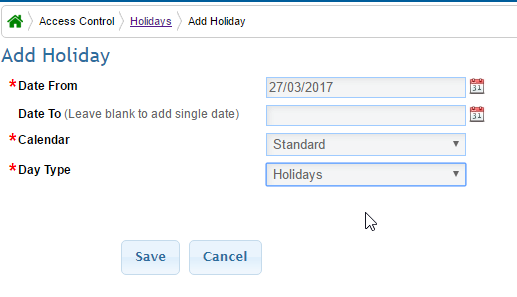
Adding a holiday can be a single date or a range where a special Day Type (created in Day Types) comes into effect and can change the default access behaviours such as blocking door or car park access during holiday seasons.

Devices
Devices are the list of Controllers and the combination of badge readers and other devices associated with each door location.
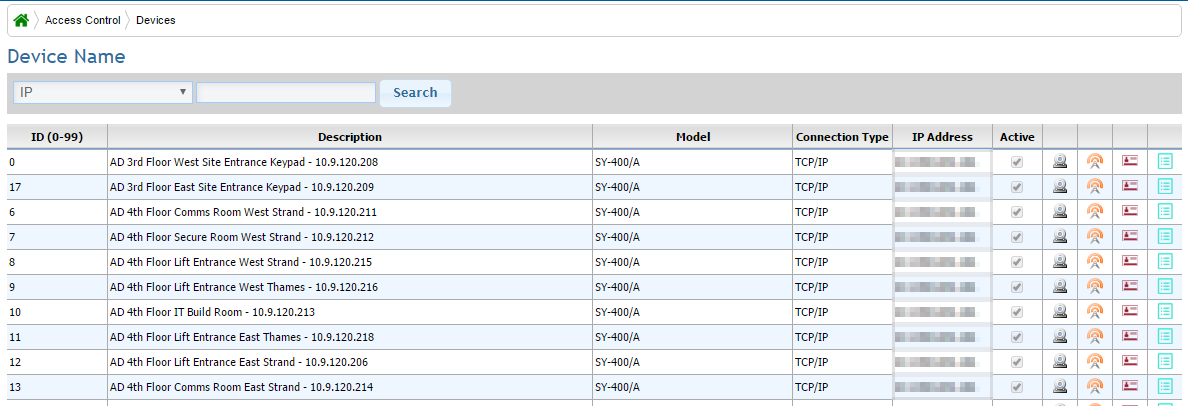 Devices are added via the System Setup -> Devices Menu (See System Setup Chapter)
Each device on the list can be edited for 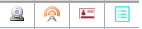
Readers, Sensors, Cards & Additions.
Readers
 TO add a reader it’s the green Add Reader, to edit those readers it’s the yellow Edit and to remove it’s the red Delete.
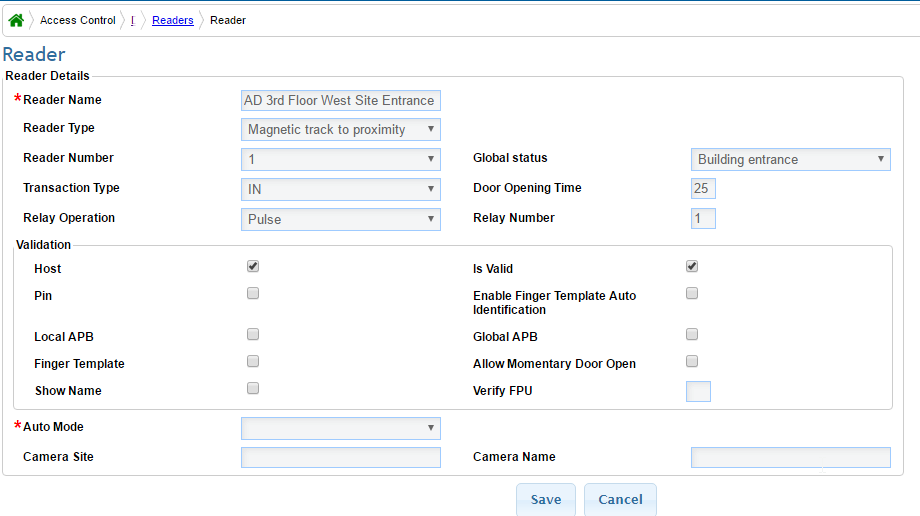
Reader Name – As it will appear in the GUI and Reports
Reader Type – The expected form of Media (not currently in use within the Gui)
Reader Number – the controllers have either 1 or 2 reader ports, this associates the hardware with each socket to nominate which is to be an IN or OUT swipe.
Transaction Type – Specify the direction of Travel or use Door, IN or OUT will result in presence recordings for Fire reports and should be used on Final Entry/Exit points, internal readers should be Door. The use of none will result in no record being created for the door in use but will still allow you to control access eg. Publicly accessible Toilets.
Relay Operation – IN/OUT/Pulse default is to pulse the relay.
Global Status – Sets the door to be internal or external access.
Door Opening Time – How long the door should open for on an accepted swipe in 5ths of a second ergo 5 = 1 Second of the door being open.
Relay – Each controller can have up to 2 relays and this associates which relay should be opened on an accepted swipe. Doors with In & Out Readers in reader sockets 1 & 2 would both use the same relay (default 1) However it is possible to control 2 individual doors if they are to be IN only swiped. So you can have one controller for both doors with reader 1 opening relay 1 and reader 2 opening relay 2.
Validation –
Host – Check the live databse
Valid - must be in the database and not blocked or expired.
Pin – 4 digit pincode
Enable Auto Identification – Fingerprints are scanned when a finger is placed on the biometric scanner.
Local APB – User cannot swipe in the same direction twice on this reader.
Global APB – User cannot swipe in the same direction on ANY reader.
Finger Template – Activates the Finger scanner if connected.
Allow Momentary Door Opening – allow remote opening by software.
Show Name – Accepted swipes displays the associated username if a display is present.
Verify FPU – A card or keypad will also require a biometric match.
Auto Mode – if present overrides door behaviour at certain Times, such as a reception door which is left open during office hours when the desk is staffed but which locks once the receptionist goes home.
Camera Site/Name – To tag which is the nearest CCTV if in use.
Sensors

The use of a sensor allows for installation of override buttons either beside the door (push to exit) or a switch on the reception desk, or any other means of opening the readers relay without swiping a badge like a carpark induction loop that detects the approach of a vehicle and opens a barrier.
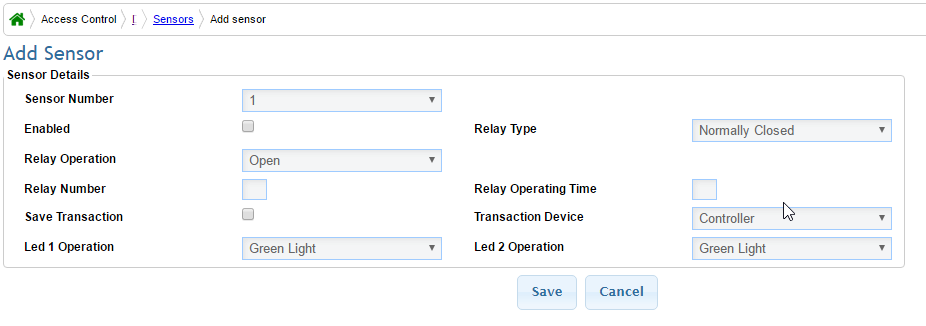
There are usually 2 sensors per controller
Sensor Number – controls which sensor you wish to configure
Enabled – should be ticked to activate
Relay Operation – Usually pulse same as when a badge is swiped.
Relay Number – which relay(s) should open when the sensor is activated relays 1,2 or 0 for both.
Save Transaction – If ticked a record will be kept that the sensor was activated and when.
LED1 operation – How the light on the reader should behave
Relay Type – Normally Open (push to make a circuit) or Normally Closed (Push to break a circuit). Buttons to override tend to be Normally open where as fire links use a normally closed.
Relay Operating Time – How long in 5th of a second the relay should be activated for.
Transaction Device – If the Save Transaction is ticked is it recorded against Reader 1 or 2 or the Controller in General.
LED2 Operation – see LED1
Terminal Cards
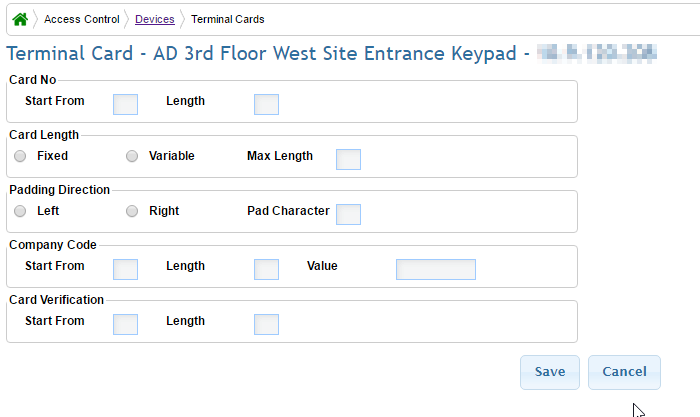
Terminal Cards are not in use currently, the card length is set by the device setup.
Additions
Allows you to set the behaviour of the device when an emergency is triggered either manually or by use of a firelink.
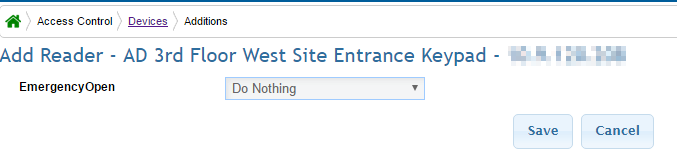
Normally this would be set to Open all relays but some doors may wish to be excluded from opening during a fire drill such as server rooms or vaults.
Time Zones
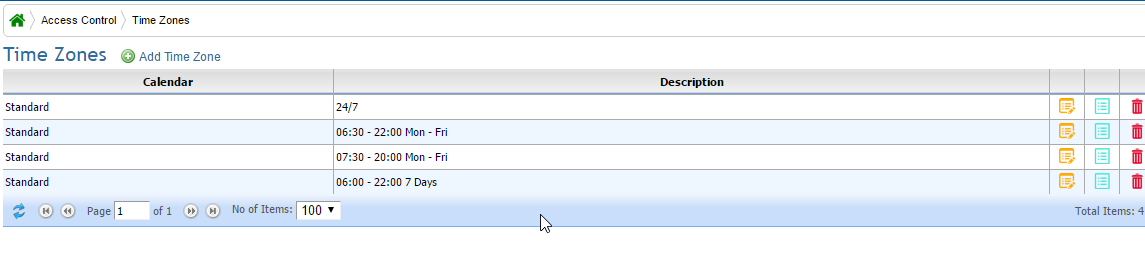
Time zones tell the door readers how to behave on different days of the week or year.
Click Add Time Zone to create a new Time Zone.
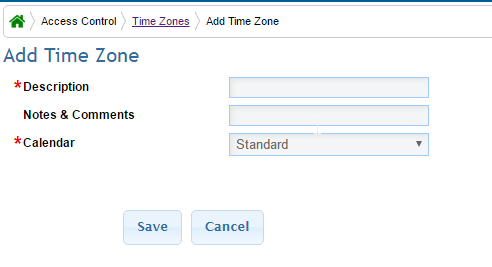
Time zones need a description, a note (optional) and the base Calendar it should use to determine what Day Types to expect. (see Calendars in Work Rules)
The Edit Button opens the Time zone back to this screen.
Timezone details (Blue icon) allows you to set the details behind the Time zone.
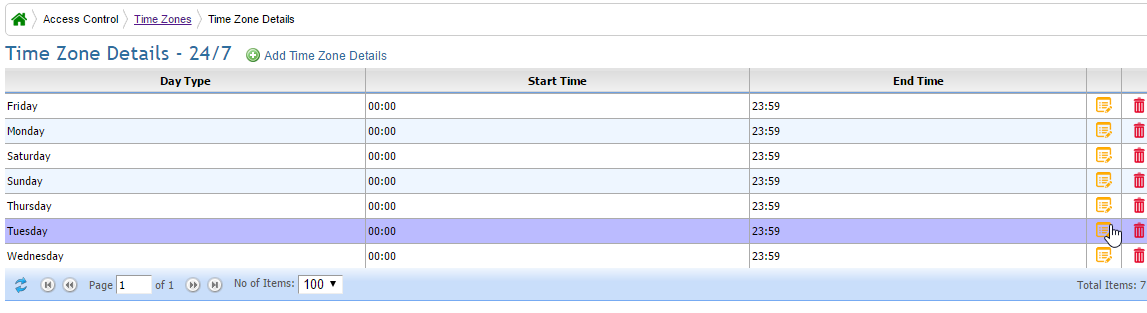
This consists of The Day Type, Start Time and End Time
Click the Add Time Zone Details
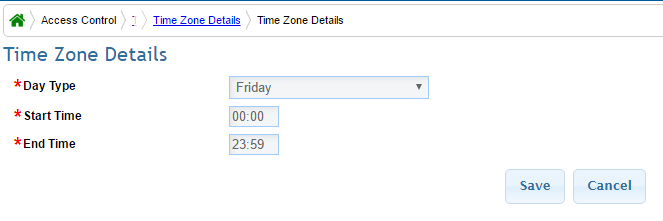
You then set the Day Type, and Start and End Times when Access should be granted.
The red icon Deletes the detail.
Auto Modes
Auto modes allow you to instruct a readers behavior onn a set schedule, an example would be to have a reception door set to open freely when there is a receptionist on duty but to lock after hours.
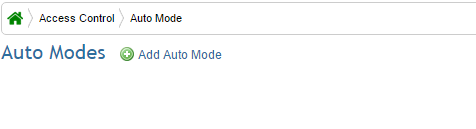
Click Add Auto Mode,
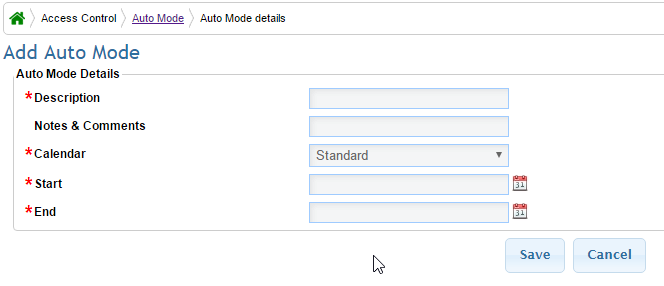
Give it a description and select which calendar it will use (usually the same as the Time Zones) Set the Start Date and Ed Date where the automation will be valid. The Auto mode will then open the door on each valid day type
Events
Events are actions you wish to record on the system usually these include: Pass Accepted, Rejected Cards, Time zone Violations, Not Permitted etc.
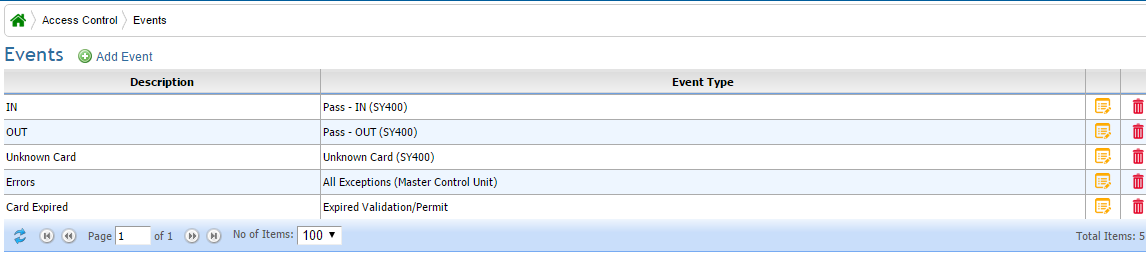
There are different event types depending on the control hardware in use.
To add an Event click Add Event
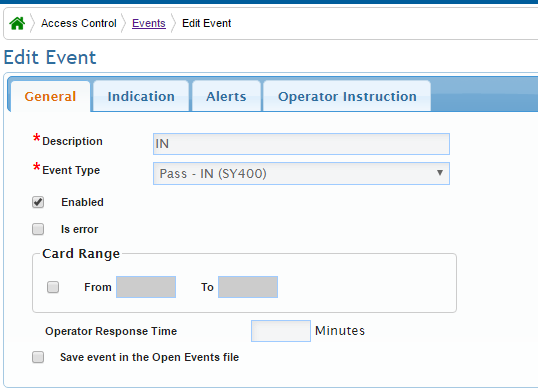
General
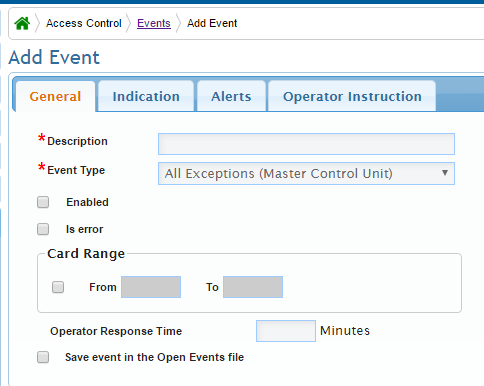
You need:
Description - This is how the system will refer to the event type.
Event type - is a list of codes generated by the hardware and the user can select from the drop down box for the appropriate hardware type.
Enabled - when ticked the event is active.
Is Error- (display as error category)
Card Range – lets you restrict the event to a series or single card used.
Operator response time – sets a time limit for a response to the event.
Indication
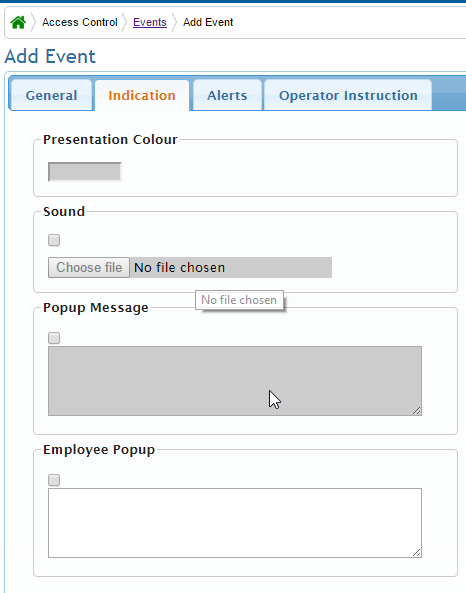
Presentation Colour - The colour used on the guard screen.
Sound – Audible indication when guard screen is open.
Popup Message – Message to be displayed on event in the guard screen.
Employee Popup – Displays the details of the person that just swiped on guard screen (online only)
Alerts
Alerts interface with SMS servers or emails to send notifications outside of the guard screen
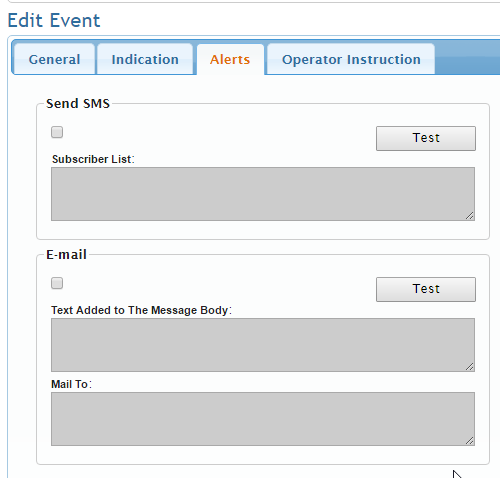
Send SMS – using an sms server alert a list of subscribed users.
E-mail – Send email notification via web.
Text Added to the Body Message: - Compose your text to accompany the event description.
Mail To – Recipients list.
Operator Instructions
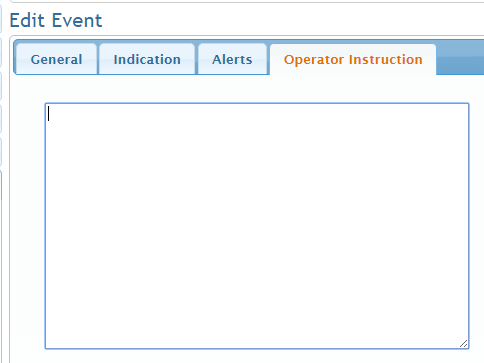
A text box where instructions can be left for the person using the guard screen such as “Detain and remove Credentials” for when an ex employee attempts to re-enter the premises.
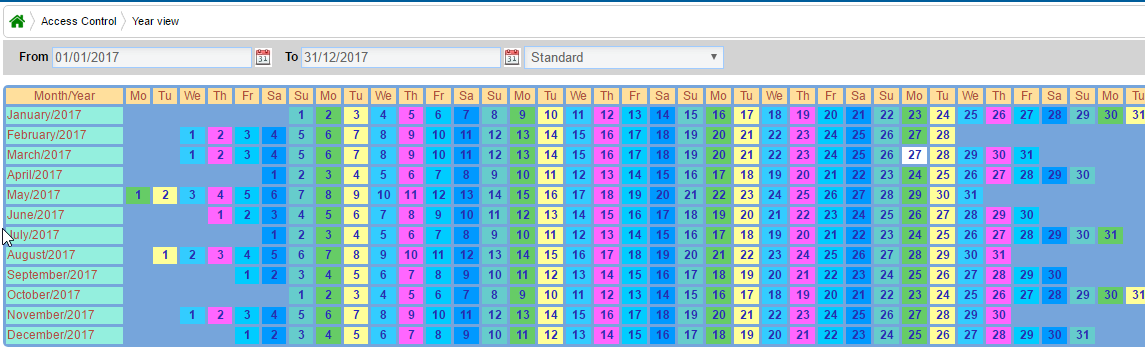
Year View
Year view – Displays all the different day types that will be used on a calendar.
Security Groups
Security Groups – The combination of Readers & Time Zones
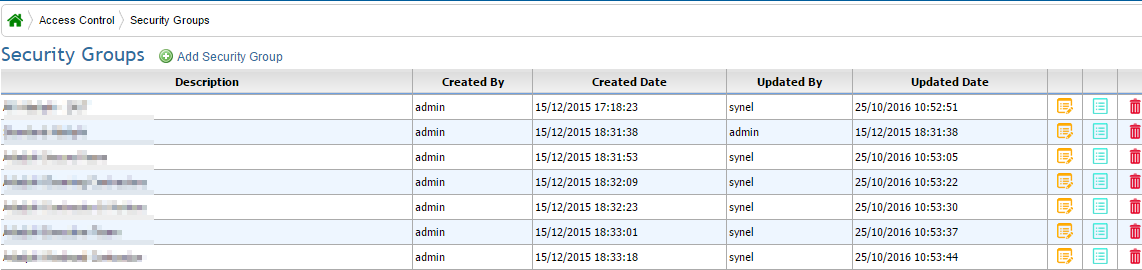
Security groups are a list of which readers will grant access and at what times, all readers in the security group do not have to use the same Time Zones you are free to mix & match.
Add Security group will create a blank list which must then be edited.
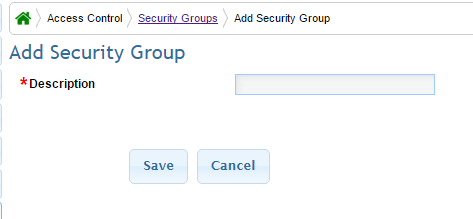
Once saved double click or click on Edit.
Security Group Details
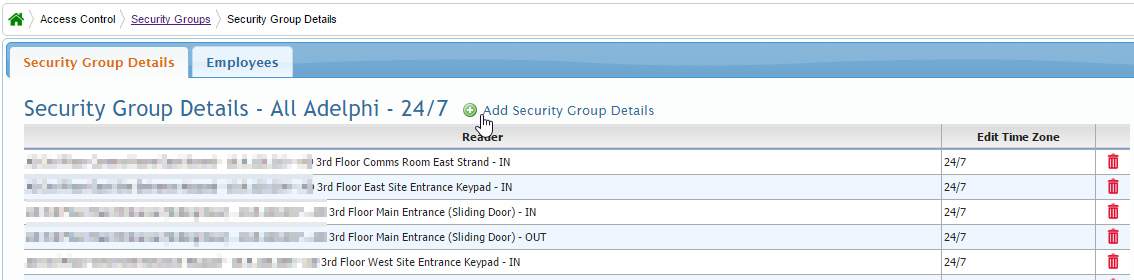
Add Security Group Detail – select the reader you wish to allow access to and the Timezone that should apply from the drop down boxes.
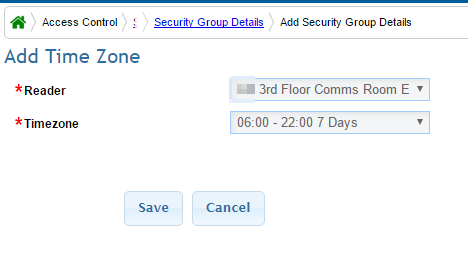
Save when ready. Each reader can only appear once in each security group.
Employees
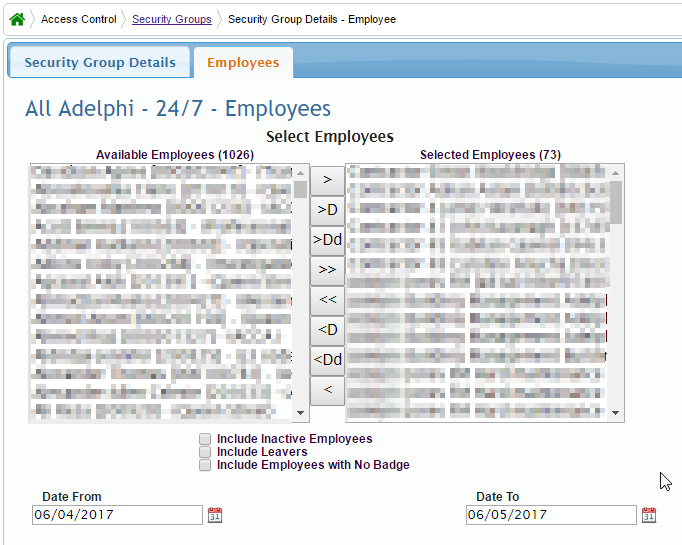
Employees is the list of employees allowed to have this security group either assigned by Organisation Tree or individually via Personnel screens.
Guard Screen
The Guard screen is a constantly updating run down of what’s happening around the building. It is where all of your Events are displayed along with any instructions that accompany them.
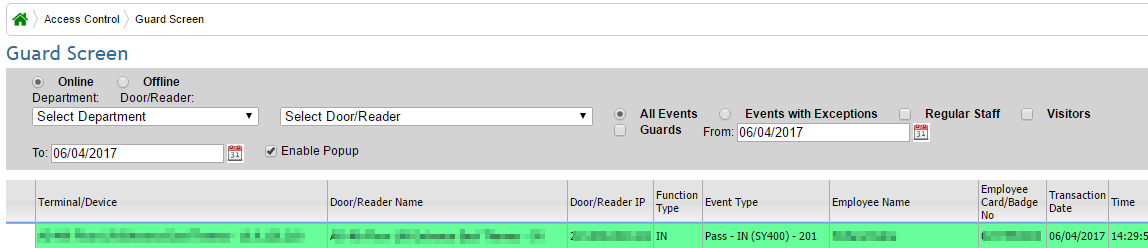
Records include the location and reader for each transaction, the IP Address of the door controller, The Function (In/Out), The Event Type, The Employee’s Name, The badge number they used and the Date & Time of the Event.
Events can be filtered by Department and by Door Reader to restrict the screen to specific information. You can also filter on specific event types and over a specific date range.