Converting SY910 Synergy Face to Webservice 2
SY910, Synergy, TLWConverting Sy910 Webservice to NEW Webservice
- Ensure TLW version is => 3.6.7.100820
- Flash the SY910 with FW version 3.912.SY200710E
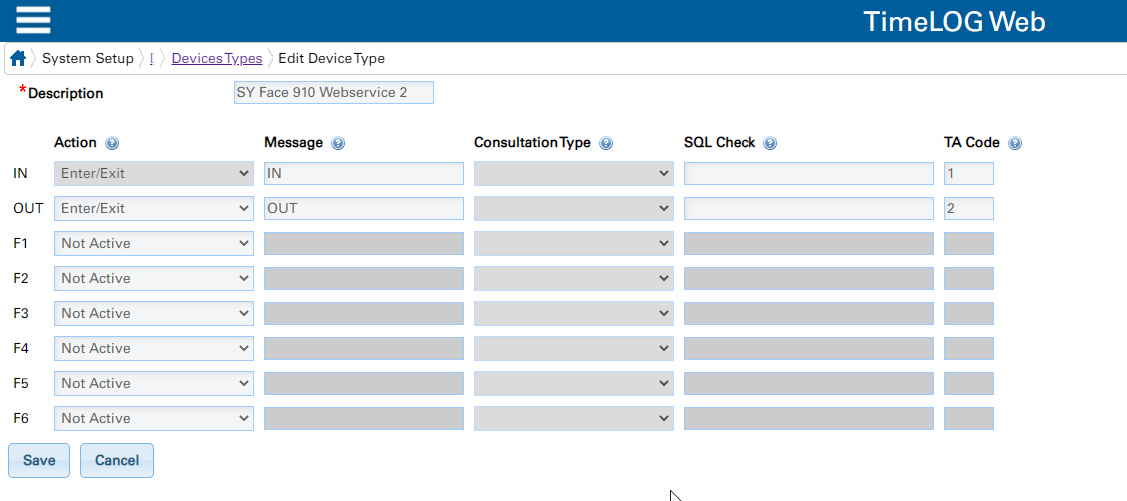
- Setup Sy Face 910 Webservice 2 Codes
- Add the correct Firmware to the list of Firmwares by Device Type for SY910 Face Webservice 2
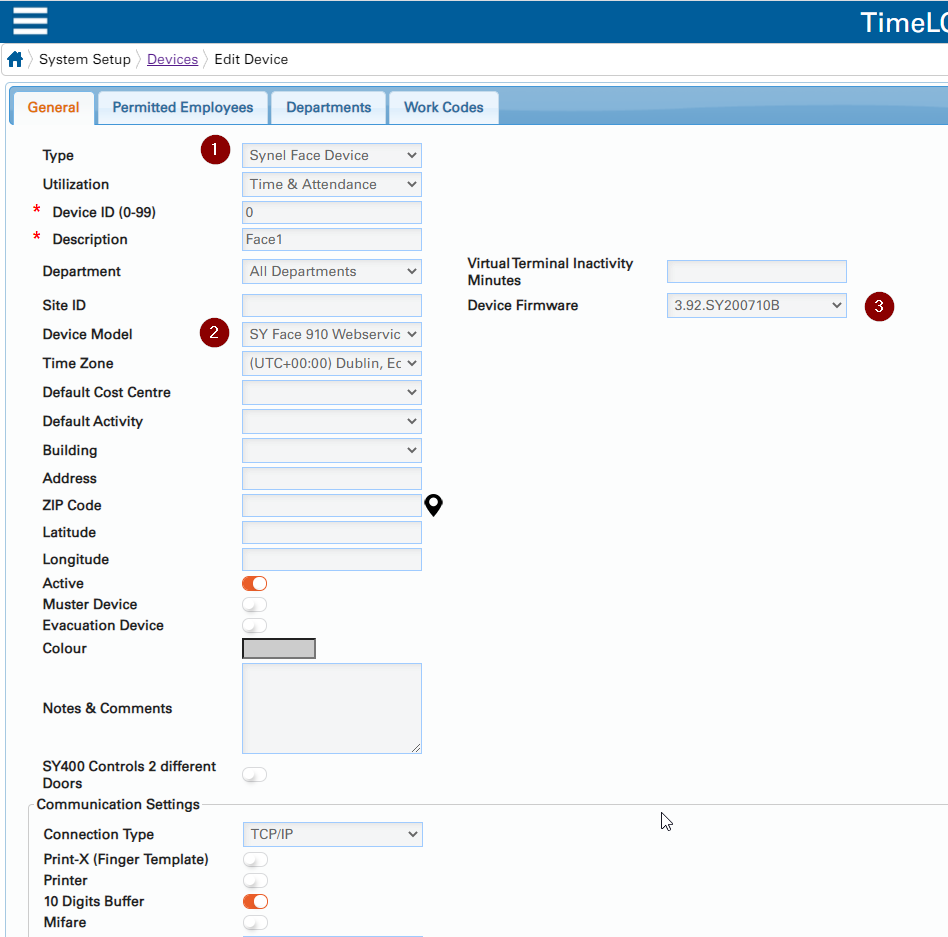
- Setup the Device: Synel Face Device Sy Face 910 Webservice 2 Firmware Version
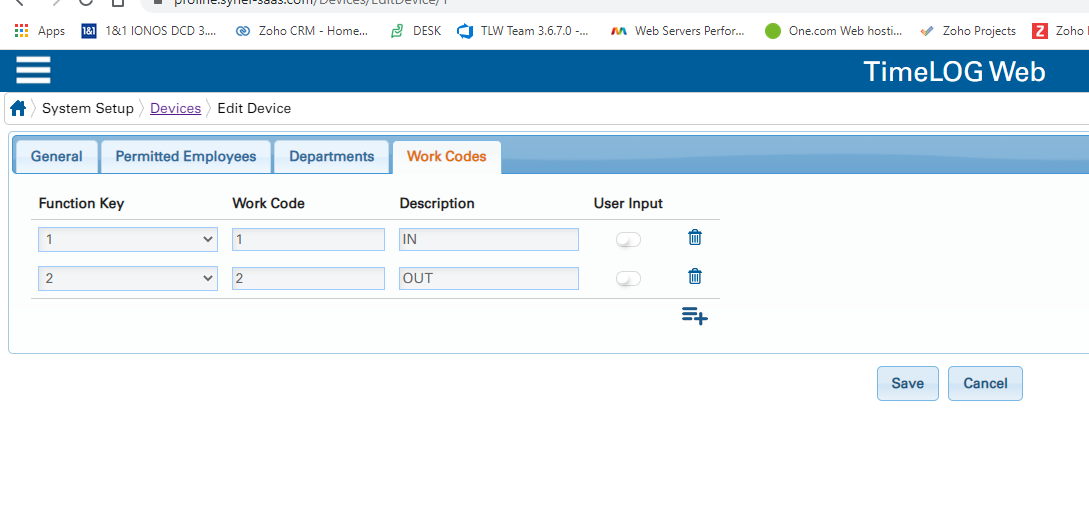
- Configure the Work Codes. 1 In, 2 Out, 3 S&G, 4 - 7 Breaks, 8 Job/Activity, 9 Tips
- Remove the Entries in the old Web config for Sy Face Webservice
- Add the Entries to the Web config in Sy Face Webservice NEW
- Restart Both Webservices
- Factory Reset the clock
- Reconfigure Fixed IP or put on DHCP
- Connect to clocks IP, username is admin/admin then set the web service address to the correct server eg https://synergyfaceuk1.synel-saas.com/service1.asmx ** you may need to add a space then delete it and set again **
- Reboot the clock
- Check
C:\horio-newlook\Install\Logs\SyFaceWebServiceNew\Generalfolder for log entry after heartbeat, each clock will create a folder with its IP from the GUI.
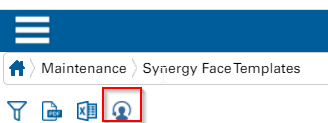
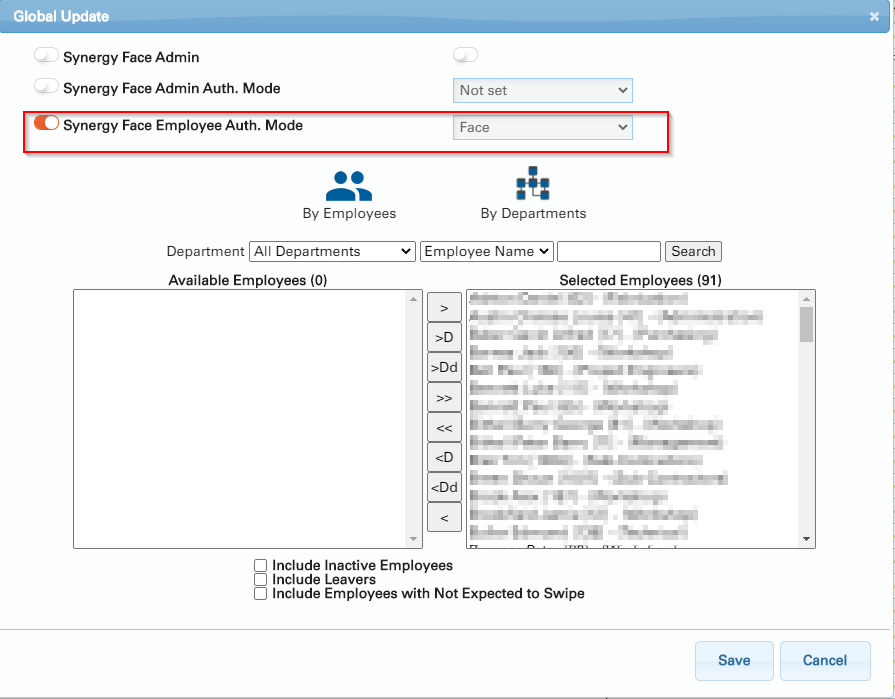
The devices default to Card and Face mode for all employees you need to change this globally from the Maintenance> Face Templates. Then use Global Update Change the Employee Authentication mode to Face only
If you miss this step nobody will be able to clock in/out